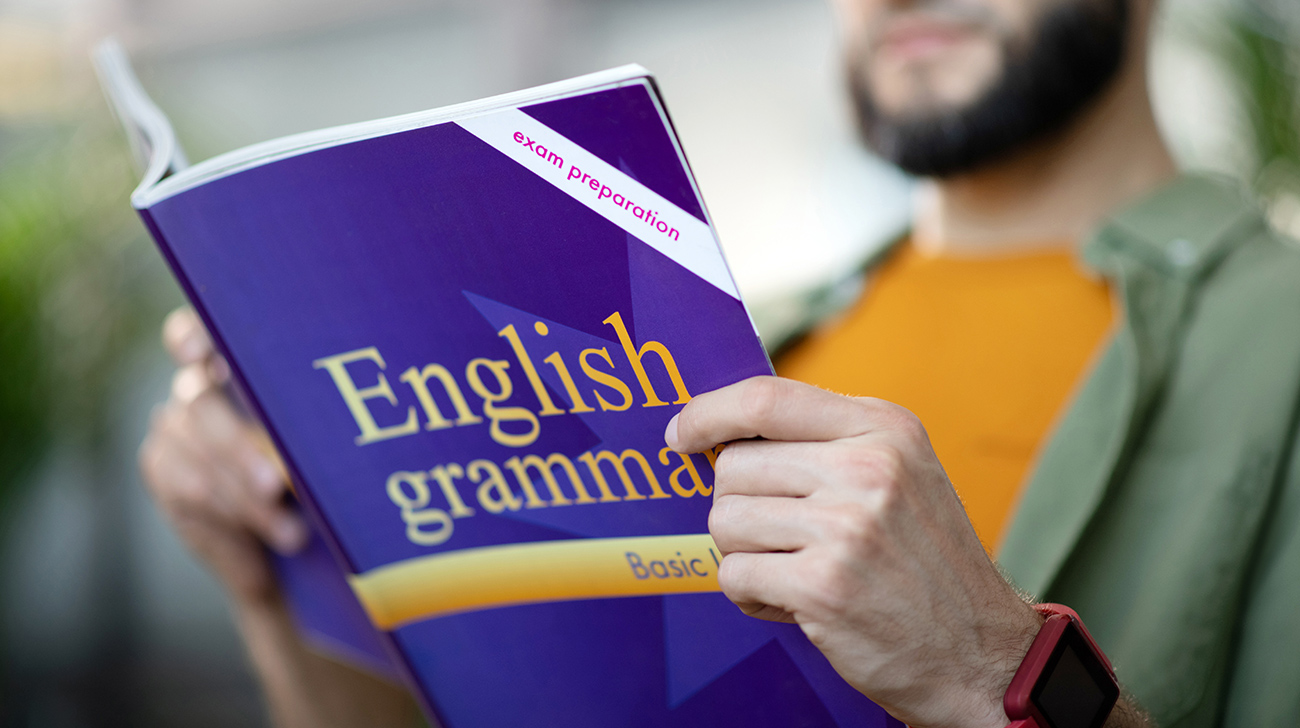
English Grammar Class
Free
PROGRAM DESCRIPTION
The English Grammar Classes are of three levels: beginner, intermediate, and advanced. Students who particularly need strengthening in their grammatical skills are taught in small group settings, where they are taught grammar lessons and given a program where they can practice their skills. Our programs further apply grammar lessons to writing.
With various writing tasks, such as creative stories, journals, academic paragraphs, and essays, we ensure students fully understand the grammar lessons and apply them in their writing. Although grammar may seem easy in lessons and guided exercises, the key area that shows true understanding is when students know how to apply their knowledge.
Key Factors:
-
Grammar
-
Small group setting
Covers:
-
Diverse grammar lessons (Beginner, Intermediate, and Advanced)
Best fit for students who are:
- English Language Learners (ELL)
- Native English speakers and writers that need more guided grammar development
CURRICULUM
Section 1: Introduction to Handstands
Section 2: Reference Material, Moodboards and Mind Mapping
Wrist Strengthening
While your wrists will certain get stronger from practice and grow accustomed to the stress of the skill, a basic amount of wrist strengthening exercises for several weeks can only help things. I’d recommend working wrist curls and reverse wrist curls for around 6-10 reps for 3 sets. I also strongly recommend trying some sledgehammer levering. Work in 2-3 sets of 3-5 reps. In particular, exercises 1 and 3 are fantastic for building wrist strength and they are much harder than they look! Start with them to get the hang of sledgehammer work before you progress to the other two exercises. I don’t want somebody putting a hole through their floor or their face because they rushed things!Section 3: Sketching out Ideas
- The main objective to the sketching process is to generate super rough thumbnail sketches of what we feel best visually communicates the highlighted words from our mind maps.
- Take as much time as you need for this step — this might be 10 minutes or it might be 10 days.
- Personally, I like to work quickly and try not to analyze or elaborate too much.
- Now, that doesn't mean you should only create a handful of sketches.
- Even though this step only took a couple of hours, I was still able to put over 100 thumbnails on paper.
- The whole point of this process is to flush out the bad ideas and narrow down the good ones until we find that one layout that really speaks to us.
- Also, keep in mind the project brief and have your list in front of you as a reference to avoid getting sidetracked.
- Remember—detail is not needed. Simply flush out the bad ideas and find a great direction.
- Once I feel I have a good direction with the sketches, I'm now ready to take a quick photo with my phone and import it into Illustrator.
Section 4: Conclusions and Evaluation
About Instructors
Free

